- 17 June 2024
- 4 min read
A leaking toilet – how to fix it?

Table of contents
Identifying the source of the leak
How to fix a leaking toilet? – Identifying the source of a toilet leak is the critical first step in fixing it. Here’s how you can pinpoint where the leak is coming from and what might be causing it:
- Check the base of the toilet
- Inspect the water supply line
- Look for leaking toilet tank
- Examine tank integrity
- Test the flush valve assembly
Once you’ve identified the source of the leak, you can proceed with the appropriate repairs, ensuring that you tackle the actual problem and not just the symptoms.
Tools and materials you will need
When doing a leaking toilet repair, having the right tools and materials on hand will make the job easier and more effective. Here’s a list of common items you might need:
- Adjustable Wrench
- Screwdriver
- Plunger
- Wax Ring
- Replacement Flapper or Fill Valve
- Towels or Rags
- Bucket
- Gloves
- Utility Knife
- Hacksaw
- Putty Knife
- Silicone Sealant
- Sponge or Cloth
With these tools and materials, you’ll be well-prepared to tackle most common toilet leaks, from simple adjustments to more involved replacements.
Step-by-step instructions to fix common types of leaks
Fixing a leak at the base
This involves addressing leaks where water seeps from under the toilet. The solution typically requires replacing the wax seal, ensuring the toilet is securely fastened and sealed to the floor. This process stops water from leaking each time the toilet is flushed.
Fixing a water supply line leak
Leaks from the water supply line can occur at connection points or along the hose itself. Tightening connections or replacing the supply line are common fixes. These adjustments ensure that water flows efficiently to the toilet without seepage.
Fixing Leaking Toilet Tank
This category includes repairs inside the toilet tank, such as replacing worn flappers or valves. These components are crucial for the proper functioning of the flush mechanism and to prevent water from leaking from the tank into the bowl unnecessarily.
Fixing a leaky tank
Fixing a leaky toilet tank often involves replacing worn or malfunctioning components within the tank itself. Here’s a step-by-step guide to help you address leaks within your toilet’s tank:
Step 1: Diagnose the Problem
Step 2: Turn Off the Water and Empty the Tank
Step 3: Replace the Flapper
Step 4: Inspect and Replace the Flush Valve (if necessary)
Step 5: Check and Replace the Fill Valve (if necessary)
Step 6: Reconnect and Test
Step 7: Final Testing
Once everything is installed and the tank is operating without leaks, conduct several flush tests to ensure all parts are functioning correctly and efficiently. This will confirm that the issue has been resolved and that there are no new leaks.
By following these steps, you can effectively fix leaks within your toilet tank, ensuring it operates smoothly and conserves water.
Repairing a leaking toilet base
To repair a leaking toilet base, first, tighten the bolts at the base of the toilet. If the leak persists, the wax ring may need replacing to create a proper seal.
Addressing a leaking supply line
How to fix leaking toilet cistern inlet valve? To address a leaking supply line, start by turning off the water supply valve connected to the line. Next, assess the condition of the line for any visible damage and replace it if necessary to stop the leak.
Preventing future toilet leaks
To prevent future toilet leaks, it is essential to conduct regular maintenance checks on your toilet. Check for any signs of wear or damage on water supply lines, seals, and connections to identify potential leak sources early. Replace any worn-out components promptly to maintain a watertight seal and prevent leaks. Avoid using excessive force when tightening bolts or connections to prevent damage to the toilet’s structure. Consider using high-quality materials, such as wax rings and flappers, during repairs or replacements to ensure durability and longevity. Periodically inspect the toilet tank for any leaks or malfunctions in components like the flapper or fill valve. Keep an eye out for water continuously running in the tank without flushing, as this can indicate a leak. Regularly clean and remove any mineral deposits or debris that may affect the proper functioning of the toilet mechanisms. Educate household members on proper toilet use to avoid clogs and overflows that could lead to leaks.
Summary
Having to do a leaking toilet fix is a common issue for homeowners, but it can be fixed with simple DIY tasks. Identifying the source of the leak, having the right tools and materials, and following step-by-step instructions are crucial in addressing common types of toilet leaks. From fixing leaks at the base to how to fix internal tank leaks, this guide provides comprehensive guidance on resolving issues to prevent water wastage and maintain an efficiently functioning toilet. Remember to regularly inspect and maintain your toilet to prevent future leaks.
You might be interested in...
- Plumbing advice

17 September 2024
Reasons of a leaking radiator – this is what you need to know!
A leaking radiator can result from several common issues. Corrosion is a major cause, as rust can create holes or weaken the metal. Loose or damaged valves are another culprit, often due to wear and tear. The bleed valve, if not properly tightened, can also leak. Cracks or splits in the radiator body, caused by physical damage or manufacturing defects, can result in leaks. Additionally, joint or pipe connections may become loose or degrade over time. Regular maintenance and inspections can help identify and address these issues early, ensuring your radiator functions efficiently and leak-free.
- DIY
- Plumbing advice

17 September 2024
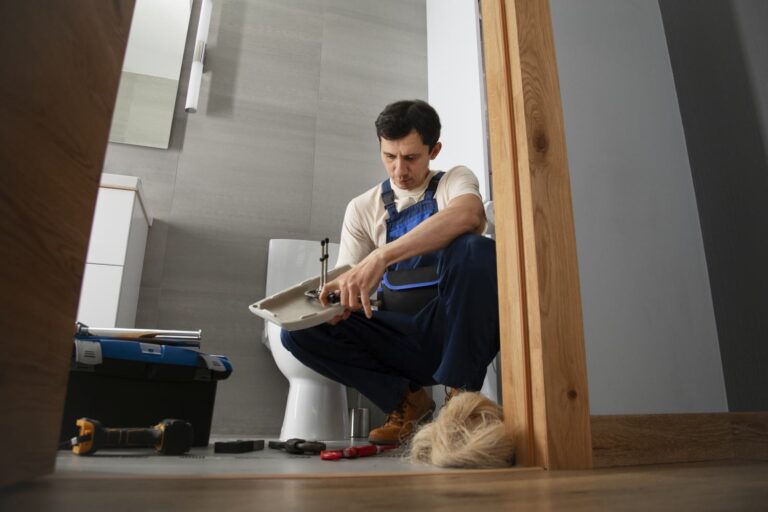
The toilet is not flushing properly – what to do?
When your toilet isn’t flushing properly, it can be both inconvenient and concerning. Before panicking, it’s important to assess the situation calmly. The first step is to check whether the problem lies with a partial flush, a weak flush, or no flush at all. Often, these issues stem from simple causes like a clogged drain, low water levels in the tank, or a problem with the flapper. Start by examining these components. If you notice that the flush handle is loose or unresponsive, the issue could be with the chain or flapper inside the tank. While some problems are easy DIY fixes, knowing when to seek help is crucial. If quick fixes don’t work, understanding the right course of action will save time, prevent further damage, and help restore your toilet’s functionality. For professional assistance, consider hiring a service through ConnectClick to get expert help right when you need it.
- Building advice
- DIY

17 September 2024
Mounting your TV on the wall – all what you need to know!
Mounting your TV on the wall offers a sleek, space-saving solution, but it requires proper planning and execution. From selecting the right mount type and ensuring VESA compatibility to finding the perfect spot and safely installing the bracket, each step is crucial. This guide covers everything you need to know, including tools, installation steps, cable management, and troubleshooting tips, ensuring a secure, stylish setup for your home.