- 17 September 2024
- 4 min read
Reasons of a leaking radiator – this is what you need to know!

Table of contents
Common causes of radiator leaks
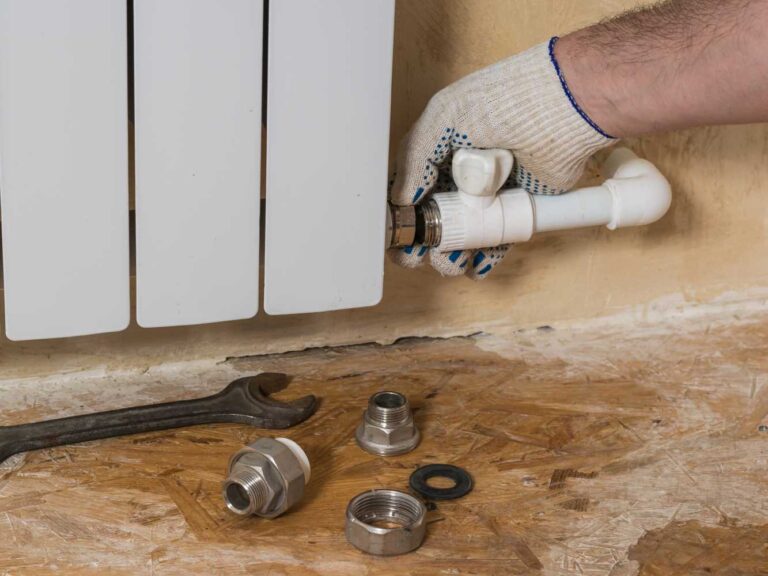
Radiator leaks can stem from various common issues. Corrosion is a primary cause, where rust eats away at the metal, creating holes. Loose or damaged valves, such as the thermostatic or bleed valve, can also lead to leaks due to wear and tear. Cracks or splits in the radiator body, often resulting from physical damage or manufacturing defects, can cause significant leaks. Joint and pipe connections may become loose or degrade over time, leading to water escaping. Regular maintenance and timely inspections are crucial for identifying and addressing these problems, ensuring your radiator operates efficiently and remains leak-free.
How to identify a leaking radiator?
Identifying a leaking radiator involves checking for visible signs of water around the radiator, such as puddles or damp spots. Look for rust, corrosion, or cracks on the radiator body. Inspect valves and pipe connections for moisture or drips. Listen for unusual hissing sounds, which may indicate a leak. Regularly check the pressure gauge if you have a pressurized system, as a drop in pressure can signal a leak. Prompt identification helps prevent further damage and ensures efficient radiator performance.
Immediate steps to take when you discover a leak
When you discover a radiator leak, take these immediate steps to minimize damage and perform radiator leak repair:
- Turn off the heating system – switch off your central heating to stop the flow of water and prevent further leakage.
- Isolate the radiator – close the radiator valves by turning them clockwise. This will stop water from entering the radiator.
- Catch the water – place a bowl or towel under the leak to catch any dripping water and protect your flooring.
- Bleed the radiator – use a radiator key to release any built-up pressure, which can minimize the leak.
- Dry the area – wipe down the radiator and surrounding area to prevent water damage and mold growth.
- Temporary fix – apply a pipe sealant or radiator repair putty to the leaking area as a temporary measure.
- Inspect for damage – check for visible damage, such as rust, corrosion, or cracks, to understand the severity of the leak.
- Call a professional – contact a qualified plumber or heating engineer to assess and repair the leak properly.
How to seal a leaking radiator?
To fix radiator leak – it involves a series of steps to ensure the leak is properly addressed. Here’s a detailed guide:
- Turn off the heating system – switch off your central heating to stop the flow of water and allow the radiator to cool down.
- Isolate the radiator – close the valves on both sides of the radiator by turning them clockwise. This will stop water from entering the radiator.
- Drain the radiator – place a bucket under the radiator bleed valve and open the valve using a radiator key to drain any remaining water. Close the valve once the radiator is empty.
- Dry the area – thoroughly dry the area around the leak with a towel to ensure the sealant adheres properly.
- Apply a temporary seal:
- For small cracks or pinholes – use radiator repair putty. Knead the putty until it is soft, then apply it over the leak, pressing firmly to ensure it sticks. Smooth it out for a better seal.
- For larger leaks or joints – use waterproof pipe repair tape. Wrap the tape tightly around the leak or joint, ensuring it overlaps and creates a solid seal.
- Radiator sealant – if the leak is internal, you can use a liquid radiator sealant. Pour the sealant into the radiator system through the header tank or directly into the radiator, following the product instructions. This sealant circulates through the system and seals leaks from the inside.
- Reopen the valves – once the temporary seal is applied and set, reopen the radiator valves slowly.
- Refill the system – refill the radiator by opening the bleed valve slightly and allowing water to enter until it is full. Close the bleed valve once the water starts coming out.
- Turn on the heating system – turn the heating system back on and monitor the radiator for any further leaks.
- Permanent repair – while the above methods are good for temporary fixes, a permanent repair often involves replacing the damaged section of the radiator or calling a professional plumber to address the issue.
When to repair and when to replace your radiator?
Repair your radiator if the leak is minor, such as a loose valve or small crack, which can be fixed with sealant or a professional repair. Replace your radiator if it has extensive corrosion, significant cracks, or repeated leaks, as these issues indicate it’s nearing the end of its lifespan. Frequent repairs also suggest replacement is more cost-effective. Consulting a professional can help determine the best course of action.
You might be interested in...
- Plumbing advice

17 September 2024
Upgrading to a condensing boiler – what you need to know?
Upgrading to a condensing boiler can be a significant home improvement decision that offers numerous benefits, including increased energy efficiency, reduced heating bills, and a lower carbon footprint. What is a condensing boiler? Condensing boilers are designed to capture heat that would otherwise escape out of the flue of traditional boilers. They achieve this through a heat exchanger system, which condenses the steam generated during the heating process back into water. This process releases latent heat, which is then used to heat your home.
- Plumbing advice

24 September 2024
New boiler installation – all you need to know!
A new boiler installation is a major investment that can improve your home’s energy efficiency, reduce heating bills, and provide more reliable heating. Whether you’re upgrading to a more efficient model or replacing a faulty system, understanding the types of boilers, installation costs, and necessary preparations is key. In this guide, we’ll cover everything you need to know about new boiler installation, from choosing the right model to finding a certified installer and considering long-term maintenance.
- DIY
- Plumbing advice

17 September 2024
Repair of a leaky overflow pipe – how to do it?
Do you see water coming out of overflow pipe on side of house? Overflow pipe leaking outside house can cause significant water damage and increase your utility bills if not addressed promptly. Overflow pipes are designed to prevent tanks and boilers from overflowing by directing excess water outside. When they leak, it often indicates a problem that needs immediate attention. Whether it’s a minor seal issue or a more significant crack, repairing a leaky overflow pipe can typically be done with a few basic tools and materials. This guide introduces the steps you need to take to identify and fix a leaky overflow pipe, ensuring your home remains dry and damage-free.