-
ConnectClick Team
- 17 September 2024
- 4 min read
Using copper and zinc strips for moss control
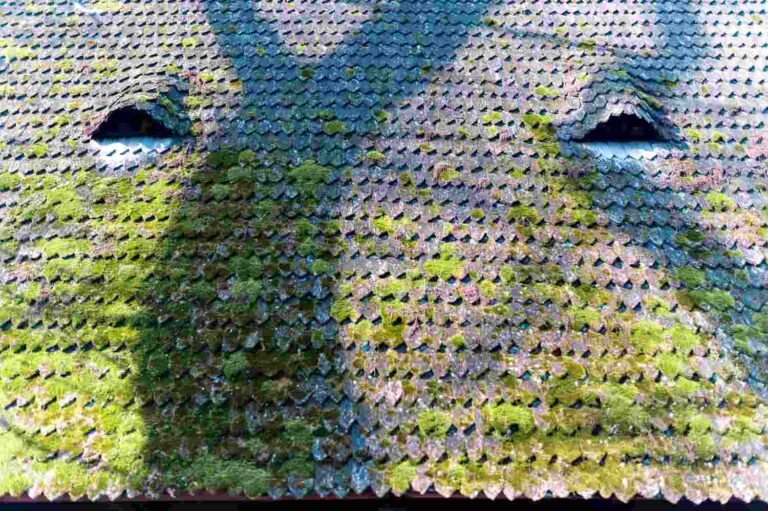
Table of contents
How copper and zinc strips work for moss prevention
Copper and zinc strips prevent moss by releasing ions when rainwater flows over them. These ions inhibit moss and algae growth on the roof surface. Copper is more effective and longer lasting, while zinc is a cost-effective alternative. Both metals help maintain a moss-free roof by creating an environment that hinders moss proliferation.
Comparative effectiveness – coverage and longevity
Copper and zinc strips are popular for moss control on roofs, but their effectiveness varies. Copper strips release ions that kill moss and algae more quickly and offer longer-lasting protection, often up to 20 years. Zinc strips, while effective, tend to work slower and may need replacement after 5-10 years. Coverage also differs; copper provides broader protection per strip due to higher ion efficacy, whereas zinc may require more frequent installation for equivalent coverage.
Installation process and considerations
Preparing the roof for installation
Installing copper and zinc strips for moss control is a straightforward process, but it requires careful attention to detail to ensure effectiveness and longevity. Begin by thoroughly cleaning the roof to remove any existing moss, debris, and dirt. This step is crucial as it ensures that the strips can work effectively without obstruction.
Measuring and cutting the strips
Next, measure the length of the roof ridge to determine how many strips you will need. Copper and zinc strips typically come in rolls or pre-cut lengths. Cut the strips to fit the ridge of your roof. It’s important to wear gloves during this process to protect your hands from sharp edges.
Positioning and securing the strips
Once you have your strips ready, position them just below the ridge cap of the roof. Secure the strips using nails or screws, ensuring they are firmly attached but not overly tight, which could damage the roofing material. The strips should extend slightly over the edge of the roof to allow rainwater to flow over them, releasing ions that prevent moss growth.
Installing additional strips for larger roofs
For optimal coverage, consider installing additional strips every 10-15 feet down the roof, particularly on larger or heavily shaded roofs where moss growth is more likely. This staggered installation helps ensure that the entire roof benefits from the moss-inhibiting properties of the strips.
Considering roofing materials
When installing these strips, it’s essential to consider the type of roofing material you have. Copper and zinc are generally safe for most roofing materials, but there can be exceptions. For instance, metal roofs may react differently to these materials, and potential staining from metal runoff should be considered.
Cost comparison – zinc strips vs. copper strips for roof moss
Copper strips are generally more expensive than zinc strips, often costing £2-£4 per linear foot compared to zinc’s £0.50-£1 per linear foot. While copper offers longer-lasting protection (up to 20 years) and broader coverage per strip, zinc provides a more budget-friendly option with effective, albeit shorter-term, moss control (5-10 years). The choice depends on budget constraints and desired longevity.
How much does it cost to clean the roof of moss?
The moss removal from roof cost typically ranges from £300 to £600 for professional services, but it can exceed £1000 for larger or heavily infested roofs. Professionals use power washing and chemical treatments to ensure effective moss removal and prevent regrowth.
To understand how to stop moss growing on roof – consider installing zinc or copper strips. These metals release ions when it rains, which inhibit moss growth. Copper strips are more expensive but last longer than zinc.
Regular roof maintenance is crucial. Keep the roof clear of debris and trim overhanging trees to reduce shade and moisture. DIY methods, like applying moss-killing solutions and manual removal, can lower costs but may be less effective for severe cases.
How to additionally deal with moss on the roof?
Apart from professional cleaning, homeowners can take several preventative measures to deal with moss on the roof. Regularly trim overhanging branches to reduce shade and keep the roof dry. Ensure gutters are clear of debris to prevent water accumulation. Installing zinc or copper strips along the roof ridge can help; these metals release ions that inhibit moss growth when it rains. Additionally, apply a biocide treatment annually to prevent moss on roof. Regular inspections and prompt removal of small moss patches can prevent larger infestations.
You might be interested in...
- Gardening advice
17 September 2024
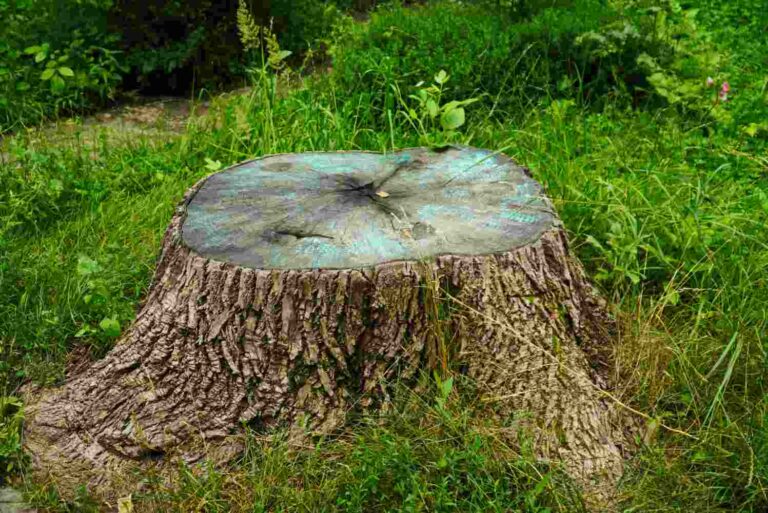
How to remove a tree stump?
How to pull a stump? It can be a challenging task, but with the right approach, it can be managed effectively. One common method is to use a stump grinder, which mechanically grinds the stump down into wood chips. Alternatively, you can apply a chemical stump remover to accelerate the decomposition process. This involves drilling holes into the stump and pouring the chemical in to break down the wood. For a more natural approach, you can cover the stump with soil or mulch to encourage fungal growth, which will gradually decompose the wood. Regardless of the method, patience is key, as stump removal can take time.
- Building advice
17 September 2024
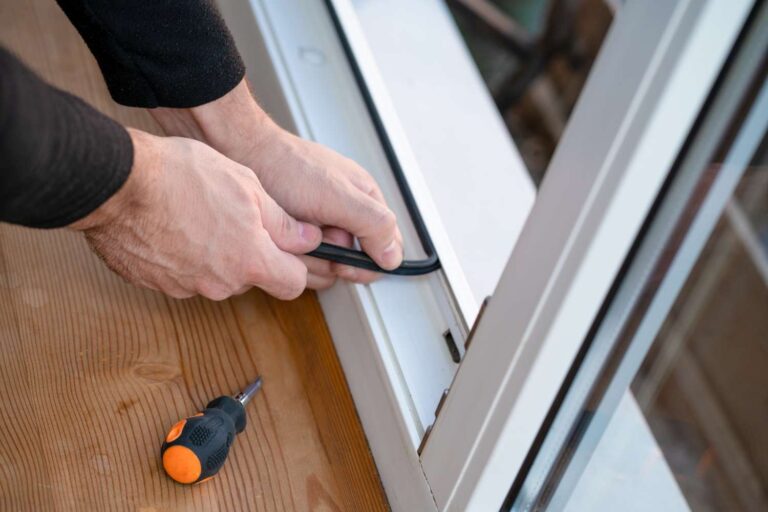
Window seal repair by yourself – DIY guide
To repair window seal by yourself is a practical and cost-effective DIY project. This guide will help you understand the basics of identifying seal damage and choosing the right materials for the repair. With a few tools and some patience, you can restore your window’s insulation and functionality, enhancing your home’s comfort and energy efficiency. Follow these steps to ensure a successful repair and maintain the integrity of your windows.
- Building advice

17 September 2024
Fundamentals of scaffolding
Scaffolding is a crucial temporary structure in construction, used to support workers and materials at elevated heights. There are several types of scaffolding: supported scaffolding, suspended scaffolding, and mobile scaffolding. Regulations mandate that scaffolds support their weight plus four times the maximum intended load. Workers need specific training on the scaffolding they use, including safe operation, hazard recognition, and understanding of load capacities.