-
ConnectClick Team
- 17 September 2024
- 4 min read
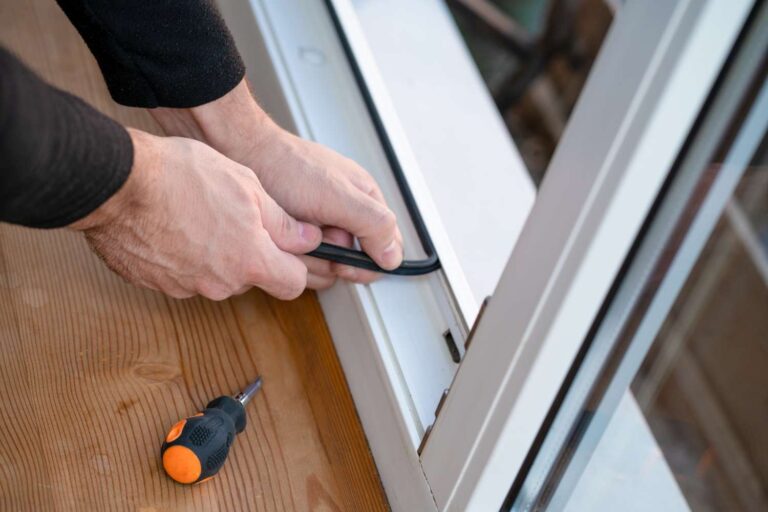
Window seal repair by yourself – DIY guide
When does a window seal need to be replaced?
How to fix window seal? A window seal needs replacement when you notice signs of wear or damage that compromise its effectiveness. Common indicators include condensation between double-pane windows, which suggests a broken seal allowing moisture ingress. You might also see visible cracks or gaps in the sealant, or feel drafts near the window, pointing to air leaks. Increased energy bills can also signal poor insulation due to failing seals, as more heating or cooling is needed to maintain indoor temperatures. Check for a distorted or cloudy appearance in the glass, which often occurs when seals fail and moisture accumulates. Regular inspections help catch these issues early, maintaining your window’s performance and home comfort. If you observe any of these signs, consider replacing the window seals to restore the functionality and efficiency of your windows.
Tools and material needed to fix the window seal
You need to perform a window seal repairs when you notice signs of wear or damage that compromise its effectiveness. Common indicators include condensation between double-pane windows, which suggests a broken seal allowing moisture ingress. You might also see visible cracks or gaps in the sealant, or feel drafts near the window, pointing to air leaks. Increased energy bills can also signal poor insulation due to failing seals, as more heating or cooling is needed to maintain indoor temperatures. Check for a distorted or cloudy appearance in the glass, which often occurs when seals fail, and moisture accumulates. Regular inspections help catch these issues early, maintaining your window’s performance and home comfort. If you observe any of these signs, consider replacing the window seals to restore the functionality and efficiency of your windows.
Window seal repair step by step
To fix window seal is a straightforward DIY task that enhances your home’s insulation and comfort. This step-by-step guide will walk you through the necessary tools and materials, and the process of effectively sealing your windows. Follow along to ensure a thorough and durable repair, keeping your indoor environment protected and energy-efficient.
Step 1: Inspect the window
Begin by thoroughly inspecting the window to identify all the areas where the seal is damaged or failing.
Step 2: Gather materials
You will need a caulking gun, silicone or polyurethane sealant, a putty knife, and cleaning supplies like rubbing alcohol and a clean cloth.
Step 3: Prepare the area
Clean the window frame and surrounding area where the sealant will be applied. Remove any old sealant using the putty knife, and clean the surface with rubbing alcohol to ensure it’s free of dirt and grease.
Step 4: Apply the sealant
Insert the sealant tube into the caulking gun. Apply the sealant evenly along the window frame where the old sealant was removed. Be sure to fill all gaps completely to create a tight seal.
Step 5: Smooth the sealant
Wet your finger or a smoothing tool and run it along the fresh sealant to press it into the gaps and smooth its surface. This helps in creating a clean, professional finish and ensures the sealant bonds well with the glass and frame.
Step 6: Clean up
Immediately clean away any excess or misplaced sealant with a damp cloth before it dries.
Step 7: Allow to cure
Leave the sealant to cure according to the manufacturer’s instructions—usually 24 to 48 hours. Avoid using the window during this time.
Step 8: Check and test
Once the sealant has fully cured, check around the window for any gaps or insufficient sealing areas. Test the seal by checking for drafts or moisture ingress.
What to watch out for when replacing a window seal?
When replacing a window seal, it’s essential to be mindful of several key factors to ensure the repair is effective and durable. Firstly, choose the right type of sealant; silicone sealants are popular for their flexibility and weather resistance, making them ideal for both interior and exterior applications. Polyurethane is another good option, especially for its strong bonding properties.
Make sure to completely remove all remnants of the old sealant from the window frame. Any residue can prevent the new sealant from adhering properly, compromising the seal’s effectiveness. It’s also crucial to ensure that the window frame and glass are thoroughly clean and dry before applying the new sealant. Moisture or dirt on the application surface can cause the sealant to fail.
Another point to consider is the temperature and weather conditions during application. Most sealants require a certain temperature range for optimal application and curing. Applying sealant in very cold or damp conditions can affect its curing process and its final resilience.
You might be interested in...
- Building advice
- Gardening advice

17 September 2024
Using copper and zinc strips for moss control
Copper and zinc strips are effective methods for controlling moss growth on roofs. When rainwater interacts with these metals, it releases ions that inhibit moss development. Installing strips along the roof ridge allows these ions to wash down and protect the surface below. This method is eco-friendly and reduces the need for chemical treatments, making it a popular choice for long-term moss management.
- Building advice
17 September 2024
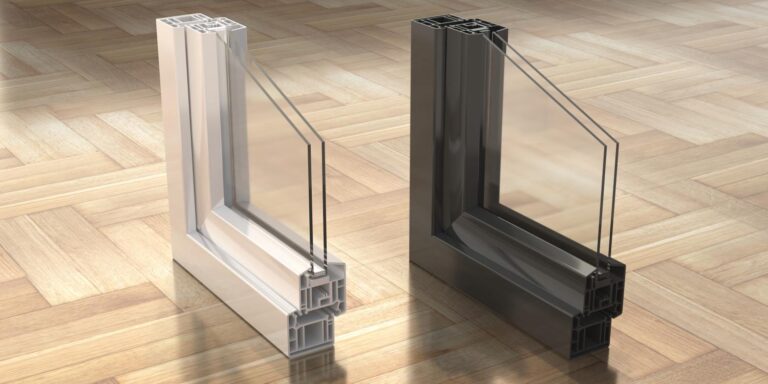
Benefits and drawbacks of double glazed windows
Double glazed windows are a popular choice for homeowners looking to enhance their property’s energy efficiency and comfort. Comprising two layers of glass with a space between them, these windows are designed to reduce heat transfer, making them an ideal investment for both warm and cool climates. While they offer significant advantages such as improved insulation and noise reduction, double glazed windows also come with certain drawbacks, including higher initial costs and potential issues with seal integrity. In this article, we’ll explore both the benefits and disadvantages of double glazed windows to help you determine if they are the right choice for your home.
- Building advice
17 September 2024
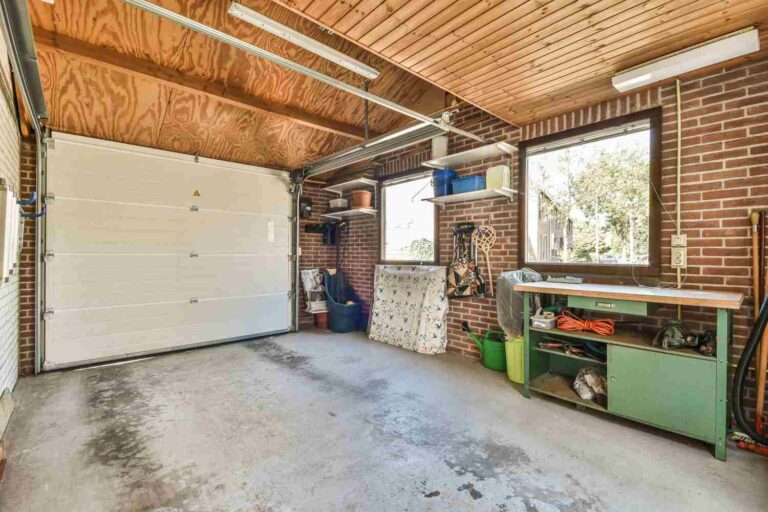
What is the cost of converting a garage?
Cost of converting a garage into a room, for example, in the UK can vary basing on several factors. Typically, a basic garage conversion costs between £7,500 and £15,000. More extensive projects, including plumbing, electrical work, and high-end finishes, can range from £15,000 to £30,000 or more. Key factors influencing the cost include the size and layout of the garage, the quality of materials used, the need for insulation and heating, and compliance with local building regulations. Obtaining detailed quotes from local contractors is essential for an accurate estimate.